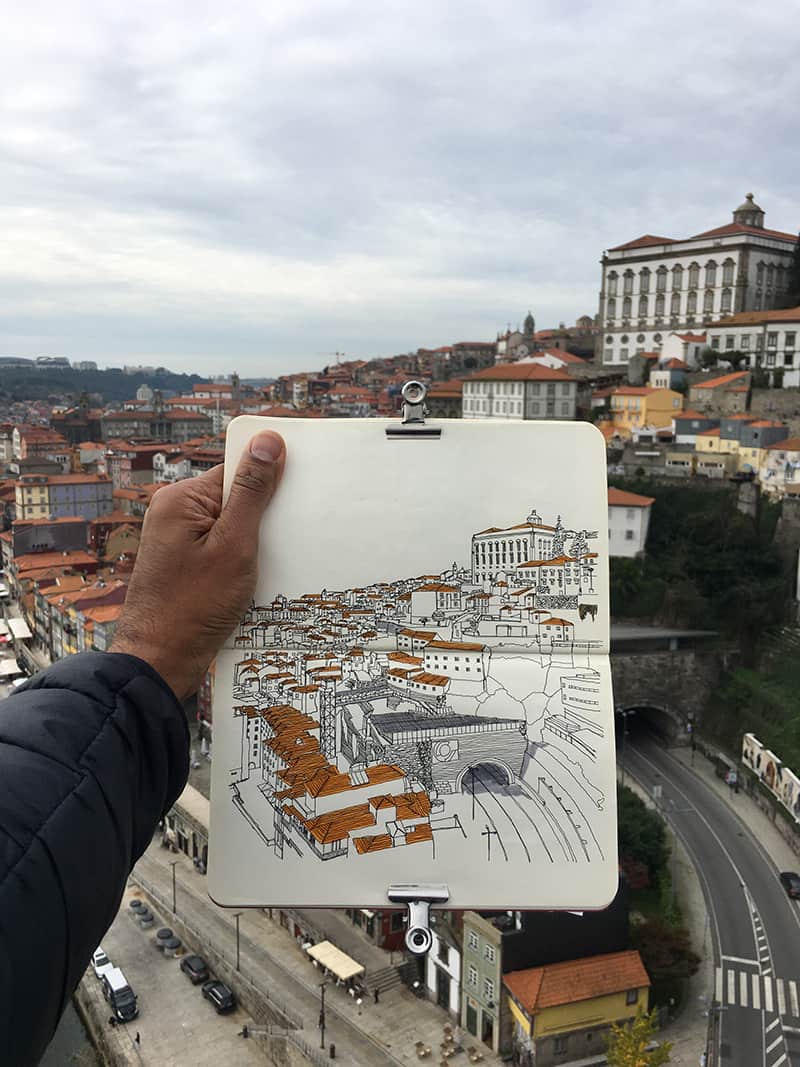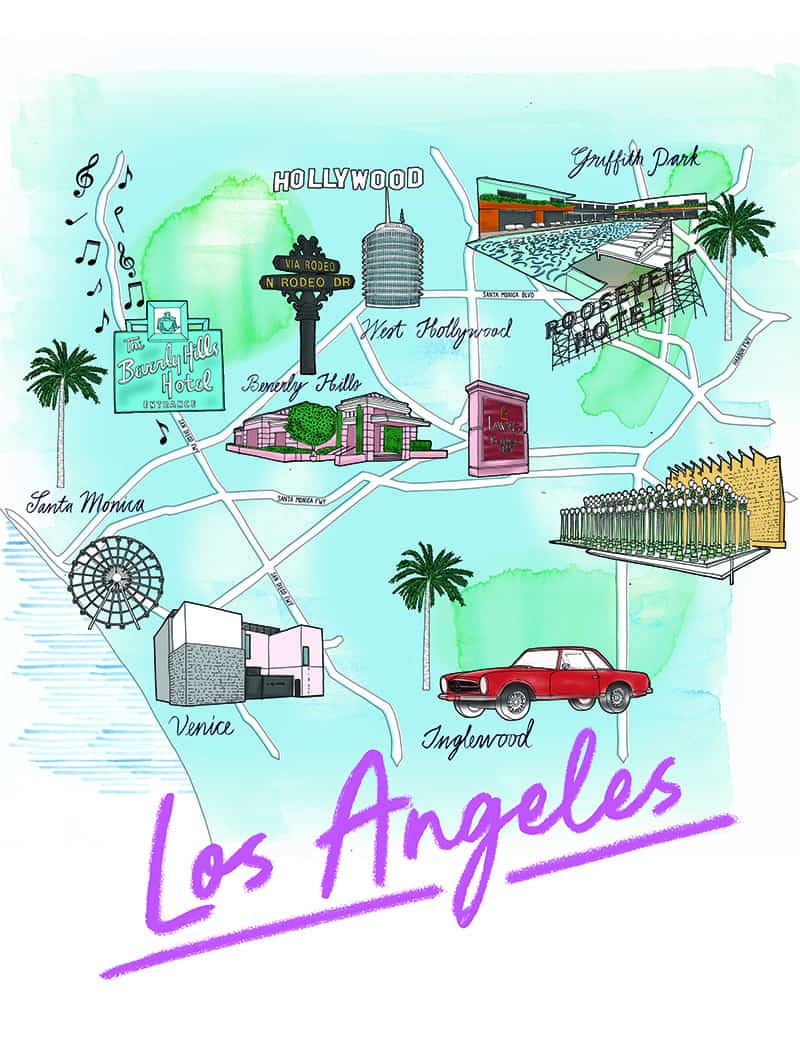


There’s something truly captivating about city sketching. For me, it’s the vibrant energy of the bustling streets and the constant hum of urban life that draws me in. Whether I’m a student or a seasoned professional, there’s a certain magic in capturing the essence of my cityscape with just a sketchbook and a handful of pencils. In this article, I’ll share with you my approach to creating two simple city location drawings using basic tools.
To kick things off, I take a leisurely stroll down any busy street in my chosen city, soaking in the varied shapes and perspectives around me. Once I’ve got a clear idea of what I want to capture, I find an open space and begin sketching. Using light, fluid lines, I sketch out the prominent buildings and landmarks that catch my eye. I’m not afraid to play around with different angles and viewpoints, as it helps me develop my own unique style when it comes to urban sketching.
Once I’ve laid down the foundation of my city sketch, it’s time to add depth and detail. I start by incorporating tiny nuances like reflections in windows, bringing my sketches to life. Then, I layer on colors—whether it’s vibrant primaries or subtle shades of gray—to capture the dynamic essence of the cityscape. Finally, I let my creativity take over, adding elements of street art or local landmarks to infuse personality into my drawings.
Thanks for joining me on this journey through city sketching! I hope you’ve found these tips helpful in unleashing your own creative potential. And if you’re hungry for more inspiration, be sure to explore our wealth of resources dedicated to helping you kickstart your city sketching adventure. Until next time, happy sketching!


Leave a Reply